 Facebook is home to a large community with tremendous potential to benefit your business.
First, you have the opportunity to gain brand exposure and build relationships. These relationships help the customer or potential customers begin to view your business through a human lens. Second, is the opportunity to drive traffic to your website and leads into your database.
Before we dig into how to create a Facebook tab, lets talk a little bit about what a Facebook tab really is. To put it very simply, when you create a Facebook tab, you’re creating a window. People can sit on Facebook and look through your window. The content that you add to the tab is the landscape that people observe.
A Facebook landing tab is a great tool to drive traffic to your website or give people the opportunity to sign up for your email list.
Step #1: Add the Thunderpenny App
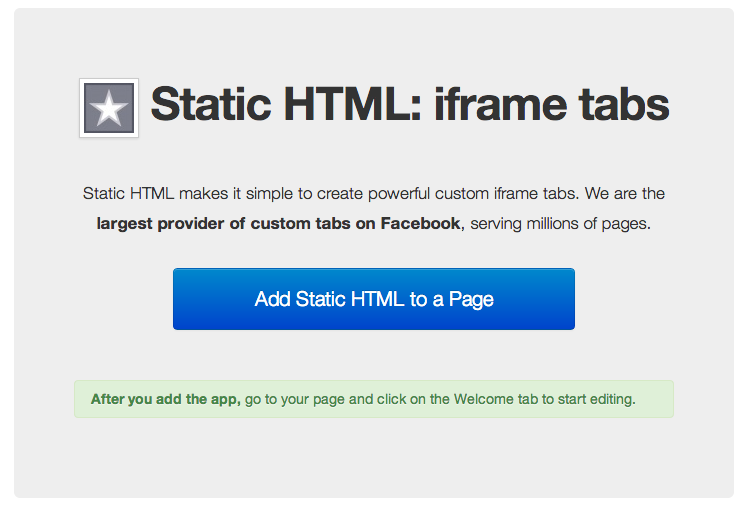
The Thunderpenny App is a free app in Facebook. Go to this link and click “Add static HTML to a page.”
Step #2: Add the tab to your fan page
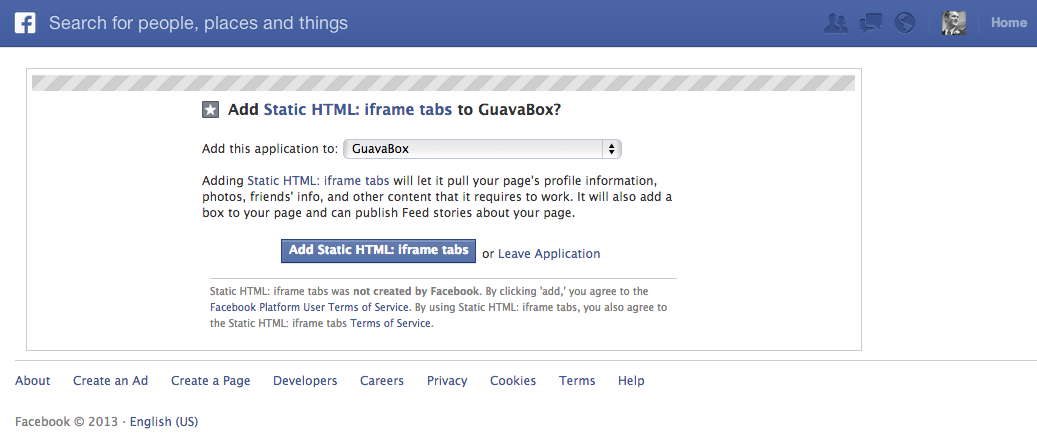
After clicking the big blue button, you’ll be able to pick what fan page you would like to add the app. Select your desired fan page from the list.
Step #3: HTML or Website?
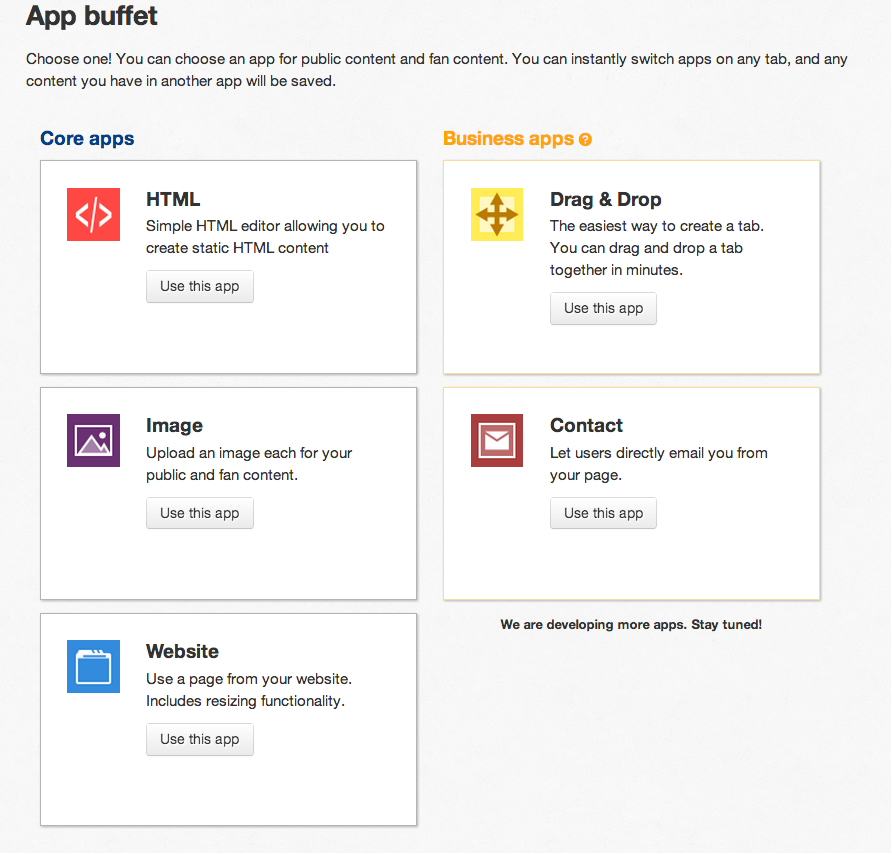
Now you need to decide how you’re going to build your tab. There are five options inside the app, but we’re going to focus on HTML and Website.
One option is that you can code up your own HTML. This is pretty much a waste of time if you use landing pages on your website to convert visitors to leads.
If you would like to display one of your landing pages from your website on your Facebook page, choose the Website option within Thunderpenny.
Step #4: Adding your landing page
After clicking on the Website app inside the Thunderpenny app, you need to decide what offer you would like to add to your fan page. Top of the funnel offers would be a good place to start, so go to your website and grab the URL to your favorite TOFU offer. Once you have the URL, paste it into the URL box.
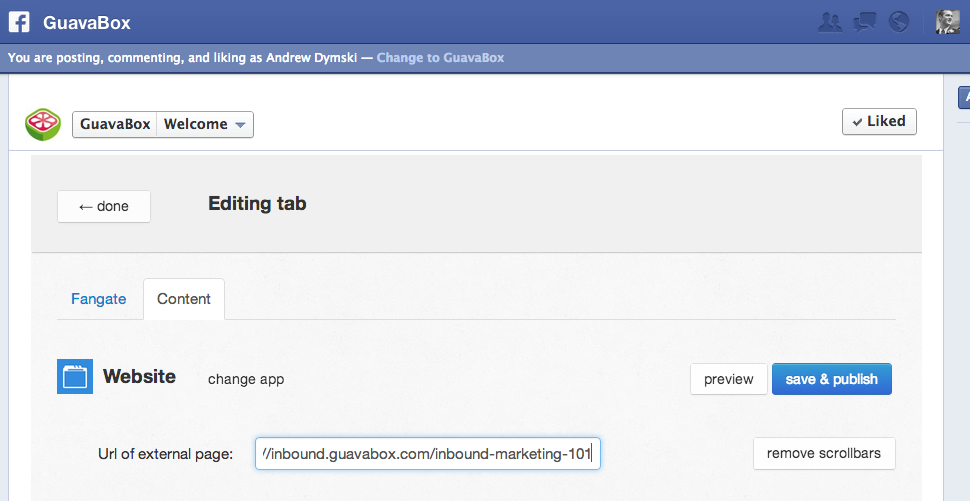
Step # 5: Remove Scroll Bars
After you have added your landing page, select the remove scrollbars option. This will bring a drop-down option to adjust the height and width of your Facebook tab.
Using these options, you can zoom in or out of your landing page. This will allow you to adjust the width of the page to fit the constraints of the Facebook iFrame.
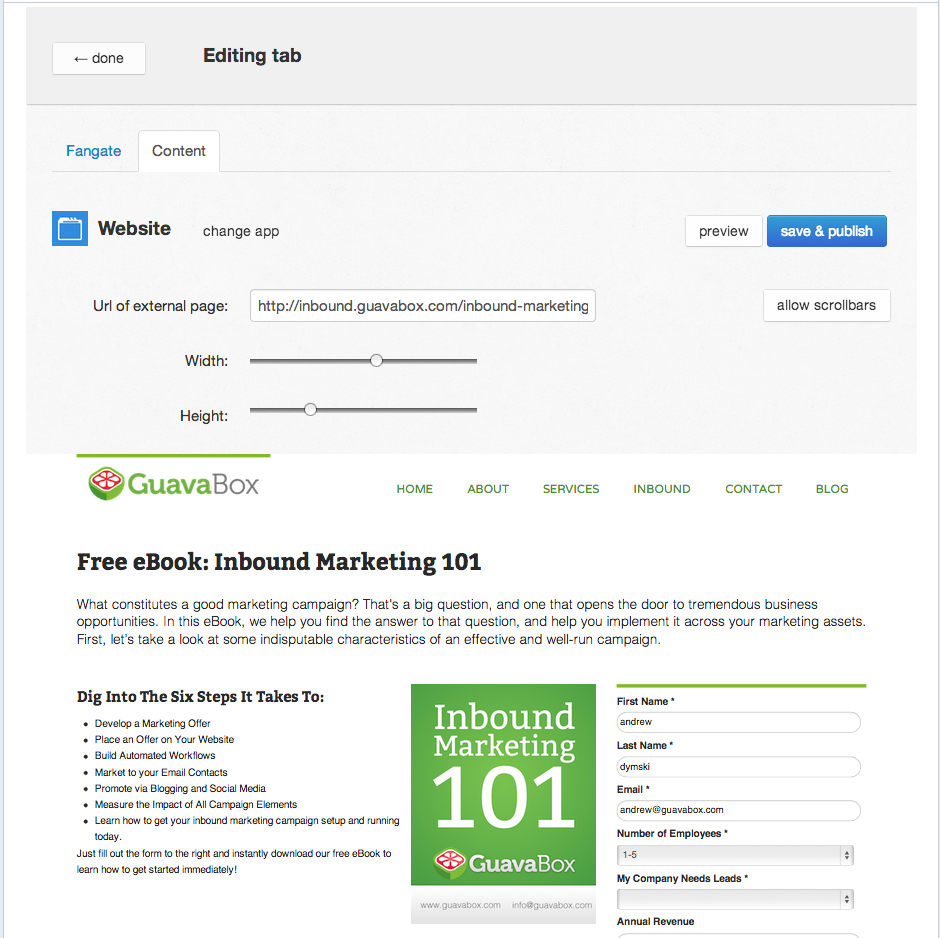
Step 6: Publish your tab
Once you have adjusted the height and width of your tab, just click “Save & Publish” and your new tab will be live!
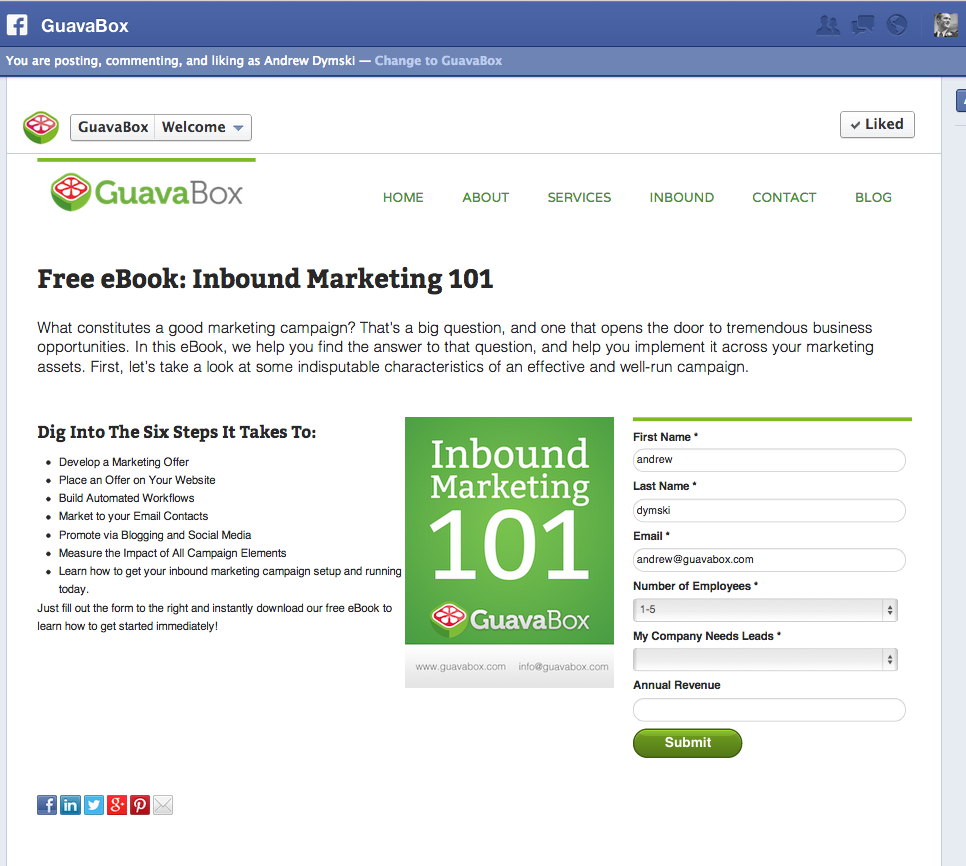
Step 7: Creating a Custom Tab Image using Pixlr.com
Now that you have created an amazing Facebook tab, you need to create a compelling CTA image to add your fan page. These CTAs are called Facebook tab images. They are 111 px wide by 74 px tall. You can create your image in Photoshop if you have it, or use pixlr.com.
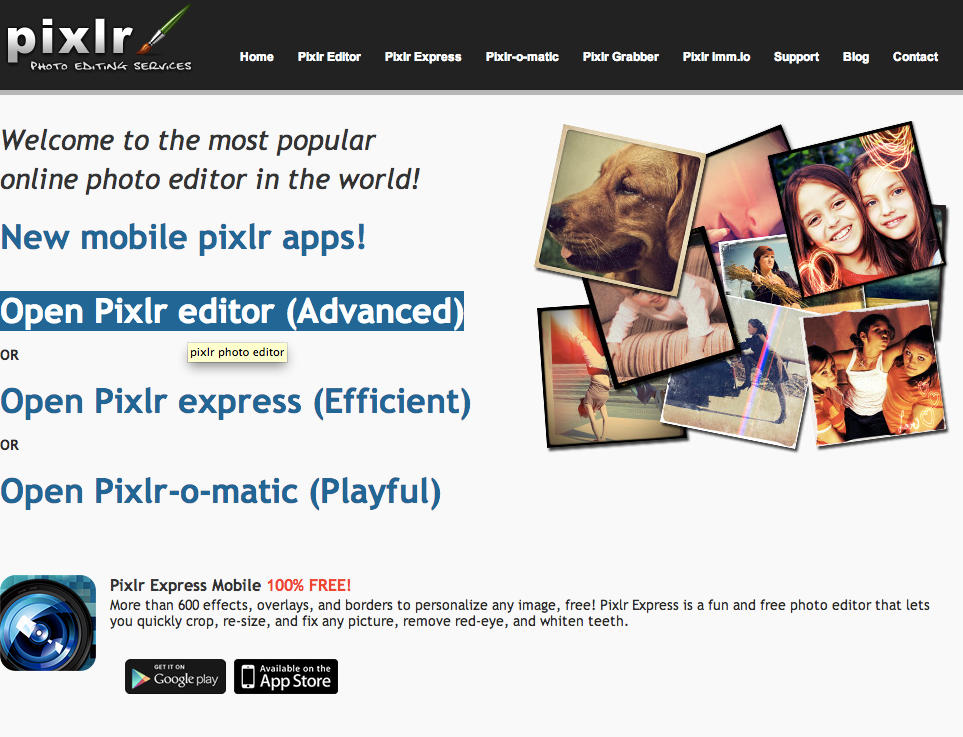
Step 8: Create a New Image
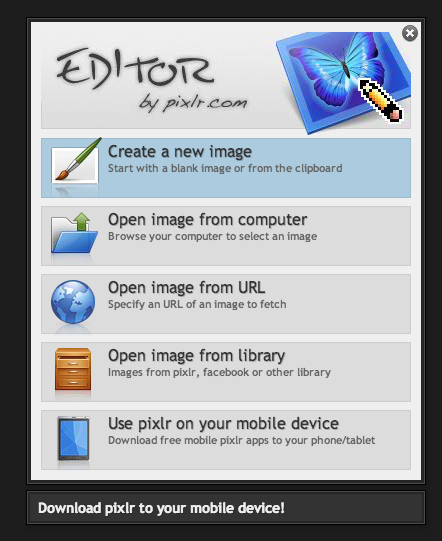
Step 9: Set the Dimensions
You’re going to need to create an image that is 111 px wide and 74 px tall. Make sure to set the background to be transparant. 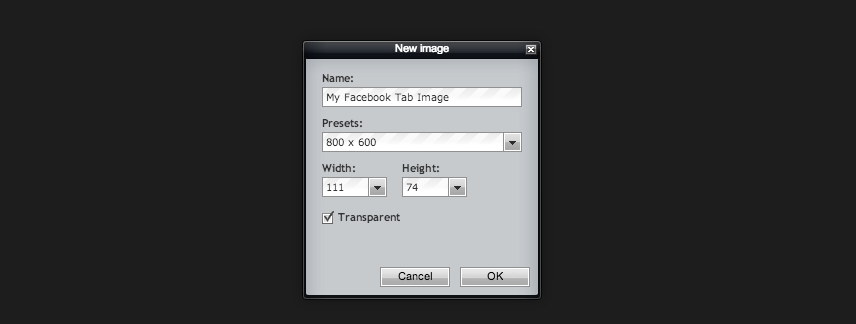
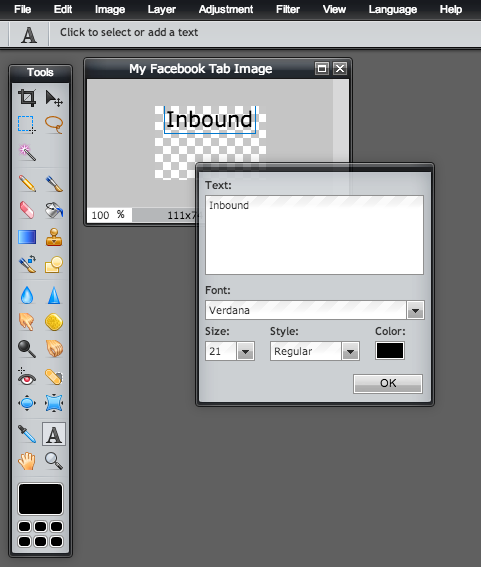
Step 10: Adding Text and Images
Since the image is only 111 px wide, there isn’t much real estate to play with; you’re going to need to keep your call-to-action clear and concise. The goal is to catch the visitor’s attention and give them a reason to click. “Start Here” and “Get Started” are good CTA text options to try in this area.
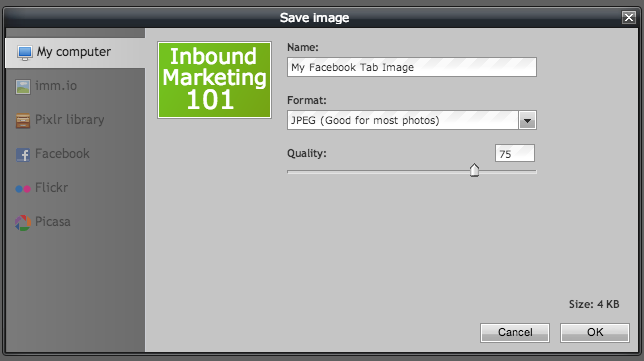
Step 11: Saving the Image
Once you have designed the image that you would like to add to your fan page, it’s time to save the image to your computer. In the upper left corner of the screen, select “File” and “Save.” You want to save the image to your computer in a JPEG format. This is the format that Facebook receives best; I have found that if you lower the quality to around 75, it will upload quickly. After you have set the title, format, and quality, click OK.
Step 12: Adding the CTA to Your Fan Page
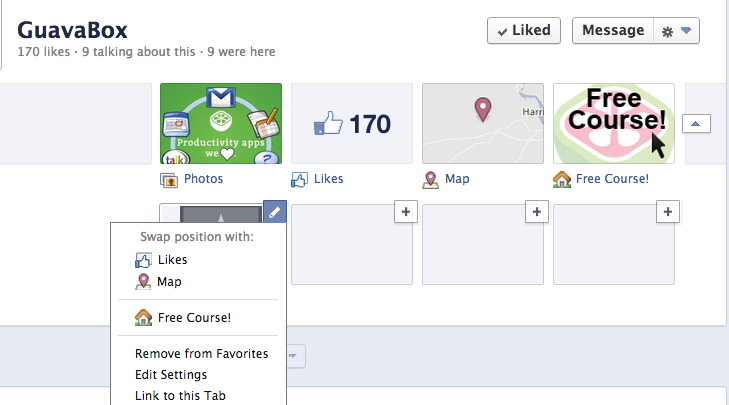
It is now time to add your new CTA to your fan page. Return to your Facebook fan page and look for the Welcome app right under your cover photo. You may need to click the drop down arrow on the right hand side to show more of your added apps.
When you see the Welcome app with the gray star, place your cursor on the upper right hand corner. A dropdown will appear; select the “Edit Setting” option.
Step 13: Saving Your Setting
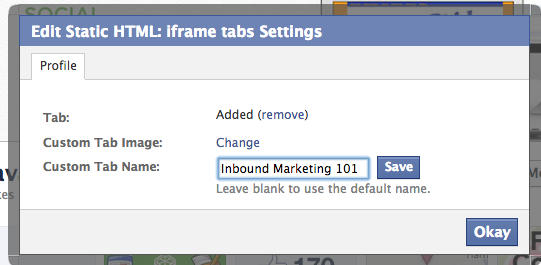
This will pull up a window that will allow you to change the tab name and upload your image. When you are done renaming the tab and uploading your image, click “Save” and then “Okay.”
Step 14: Positioning Your CTA
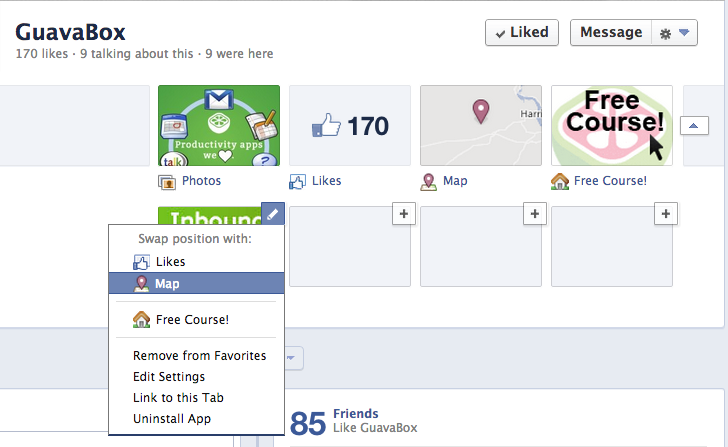
Now that you have successfully uploaded the new CTA to Facebook, it’s time to make sure that people see it. Proceed just like when you edited the setting of your tab, except instead of clicking the settings button, check out the “Swap with” section. Here you can select which tab you would like to bump out in exchange for your landing page. In my example, I decided to swap places with the map app. The other tab will still be on the page, just displayed below the fold.
Wrap it Up
Now you’re all set! You have successfully added a landing page to your Facebook page. This is a great place to welcome new visitors to your page. It is also a good destination for any Facebook ads that you may be running. People feel more comfortable converting inside Facebook and this technique allows them to use your existing landing pages to convert right inside the comfort of their Facebook account.

